Home Recording Setup: Capture Clean Vocal Takes at Home
A few smart choices in mic placement, gain, and room control can make home recordings sound much cleaner.
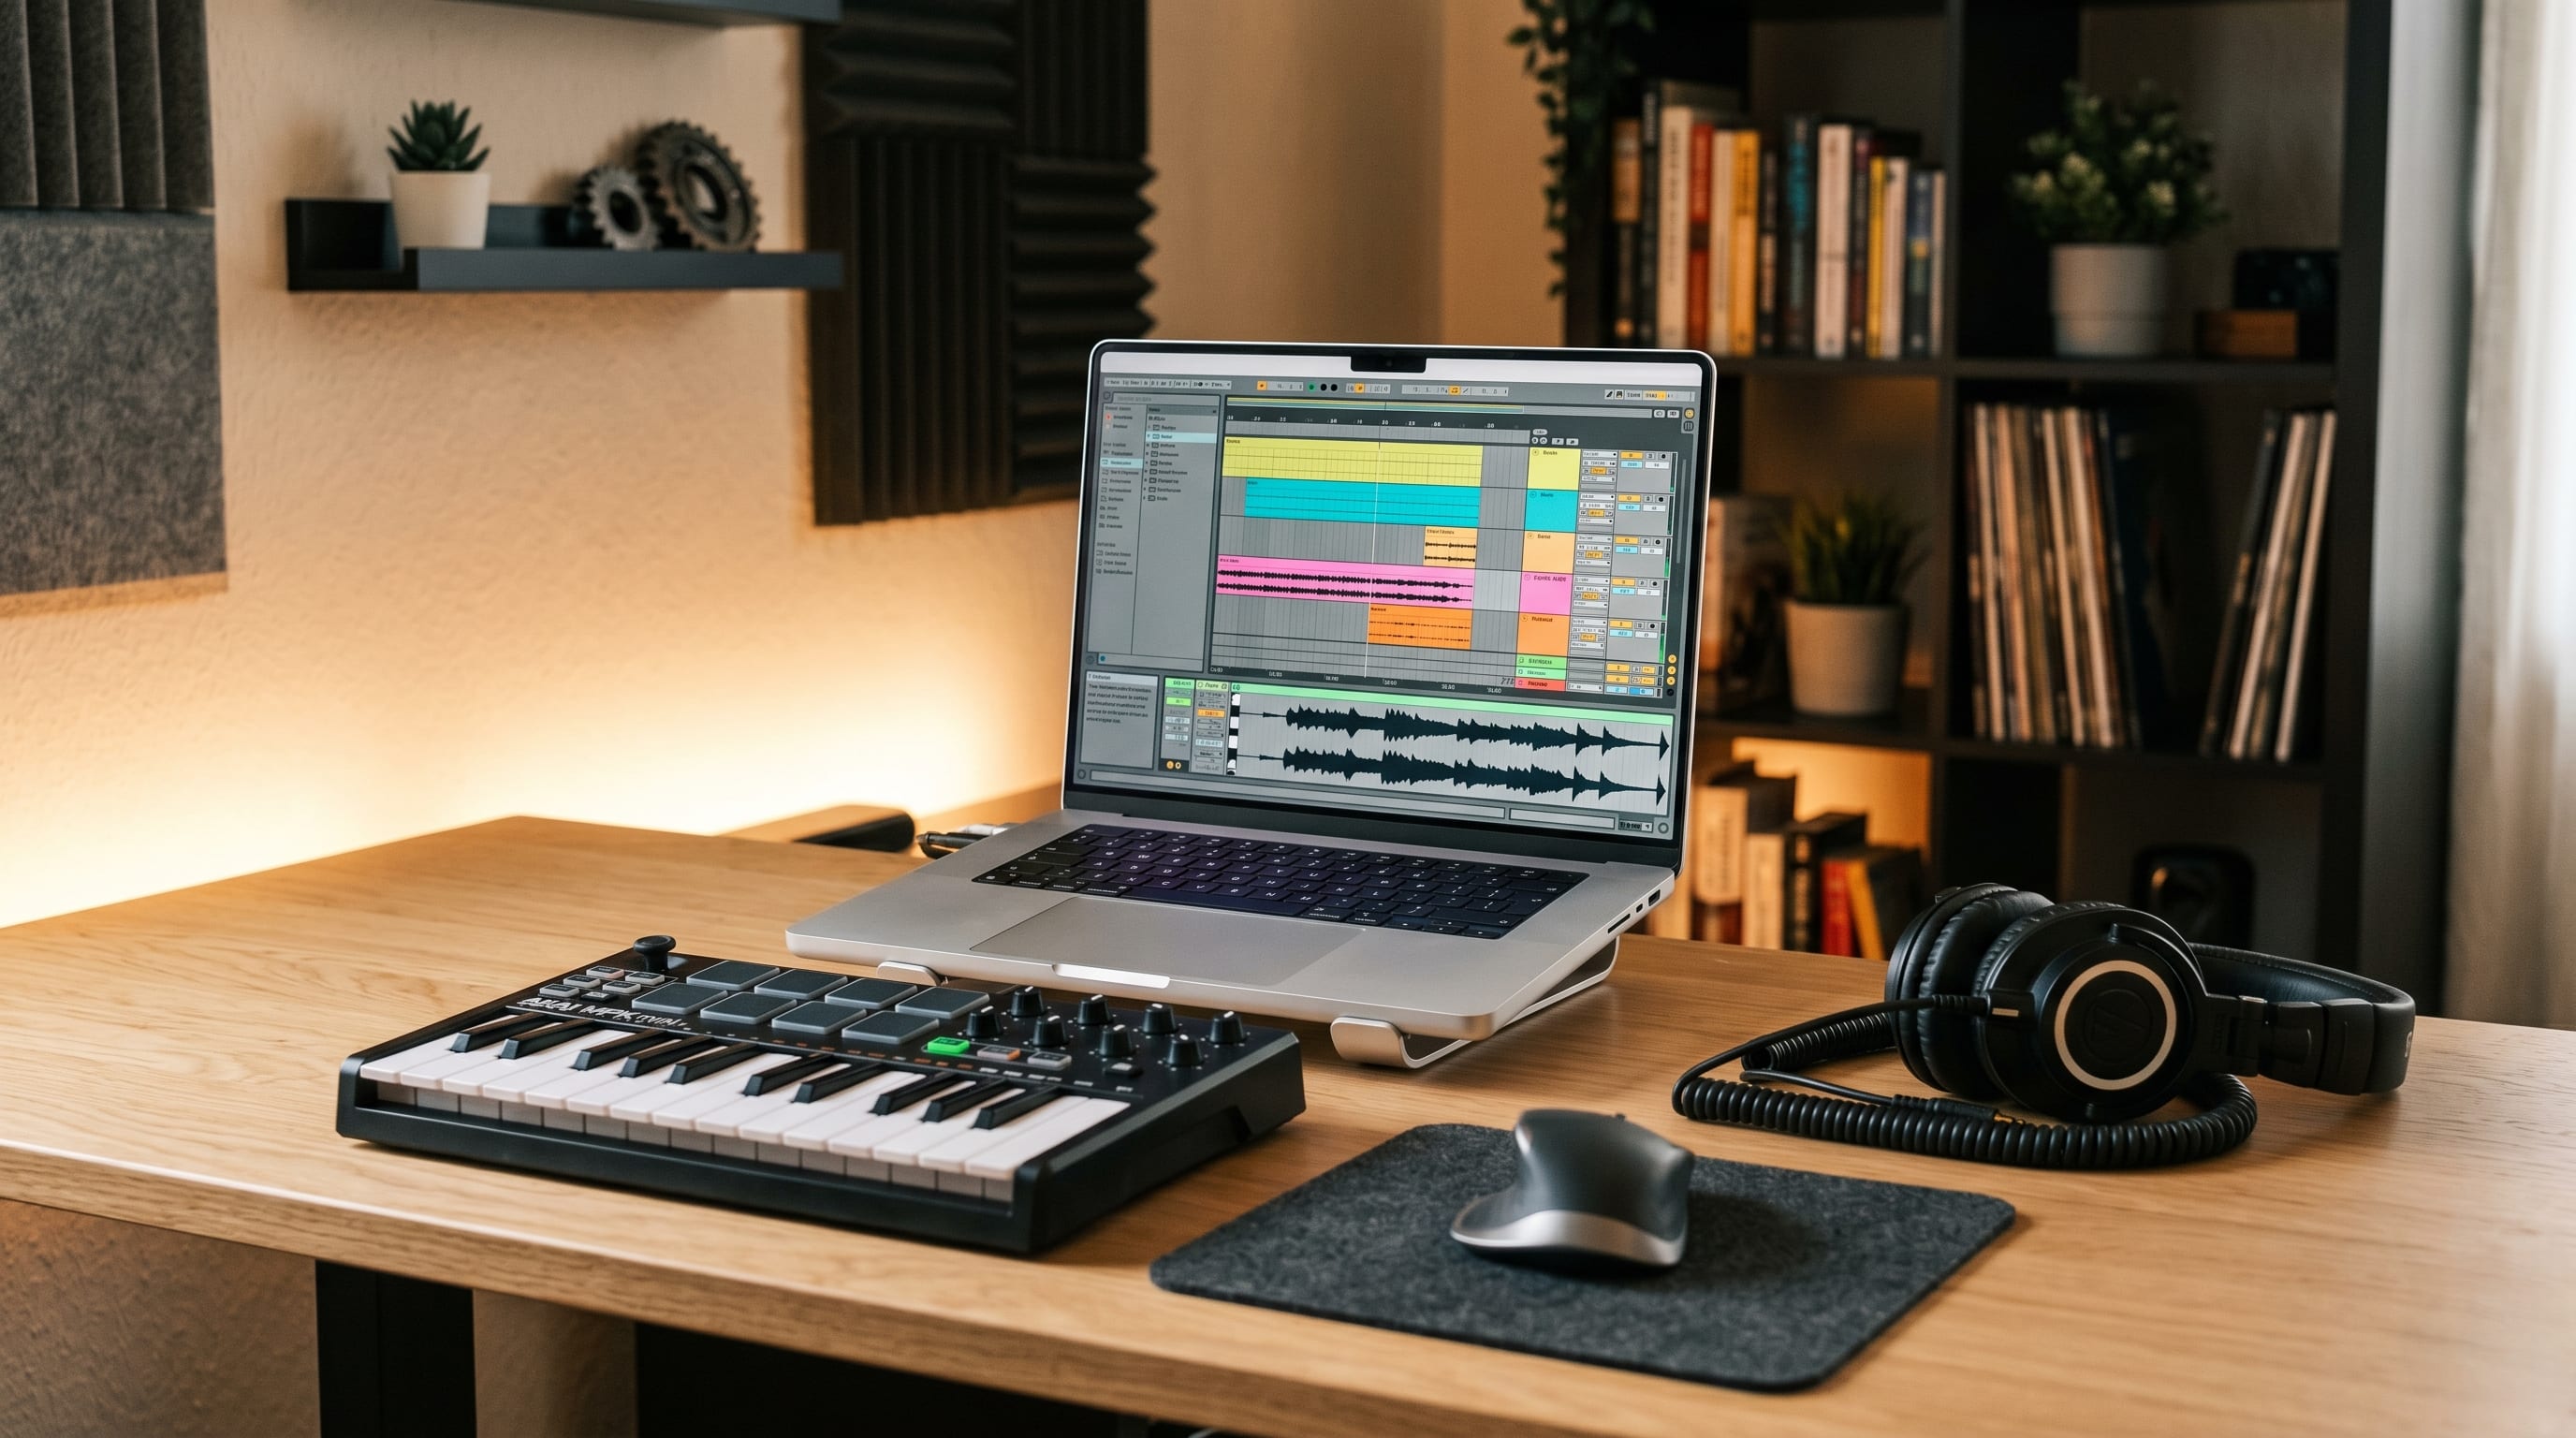
Clean recording starts before the red light turns on. Reduce noise in the room, switch off distractions, and place the microphone where the voice sounds natural instead of harsh or boxy. Even a great singer or performer can sound less impressive if the room is too reflective or the mic is placed carelessly.
Think about the source first and the gear second. A simple room with sensible mic placement often gives better results than expensive equipment used badly. Try changing the distance from the microphone, adjusting the angle slightly, and listening for how the tone changes. Small moves can make a big difference.
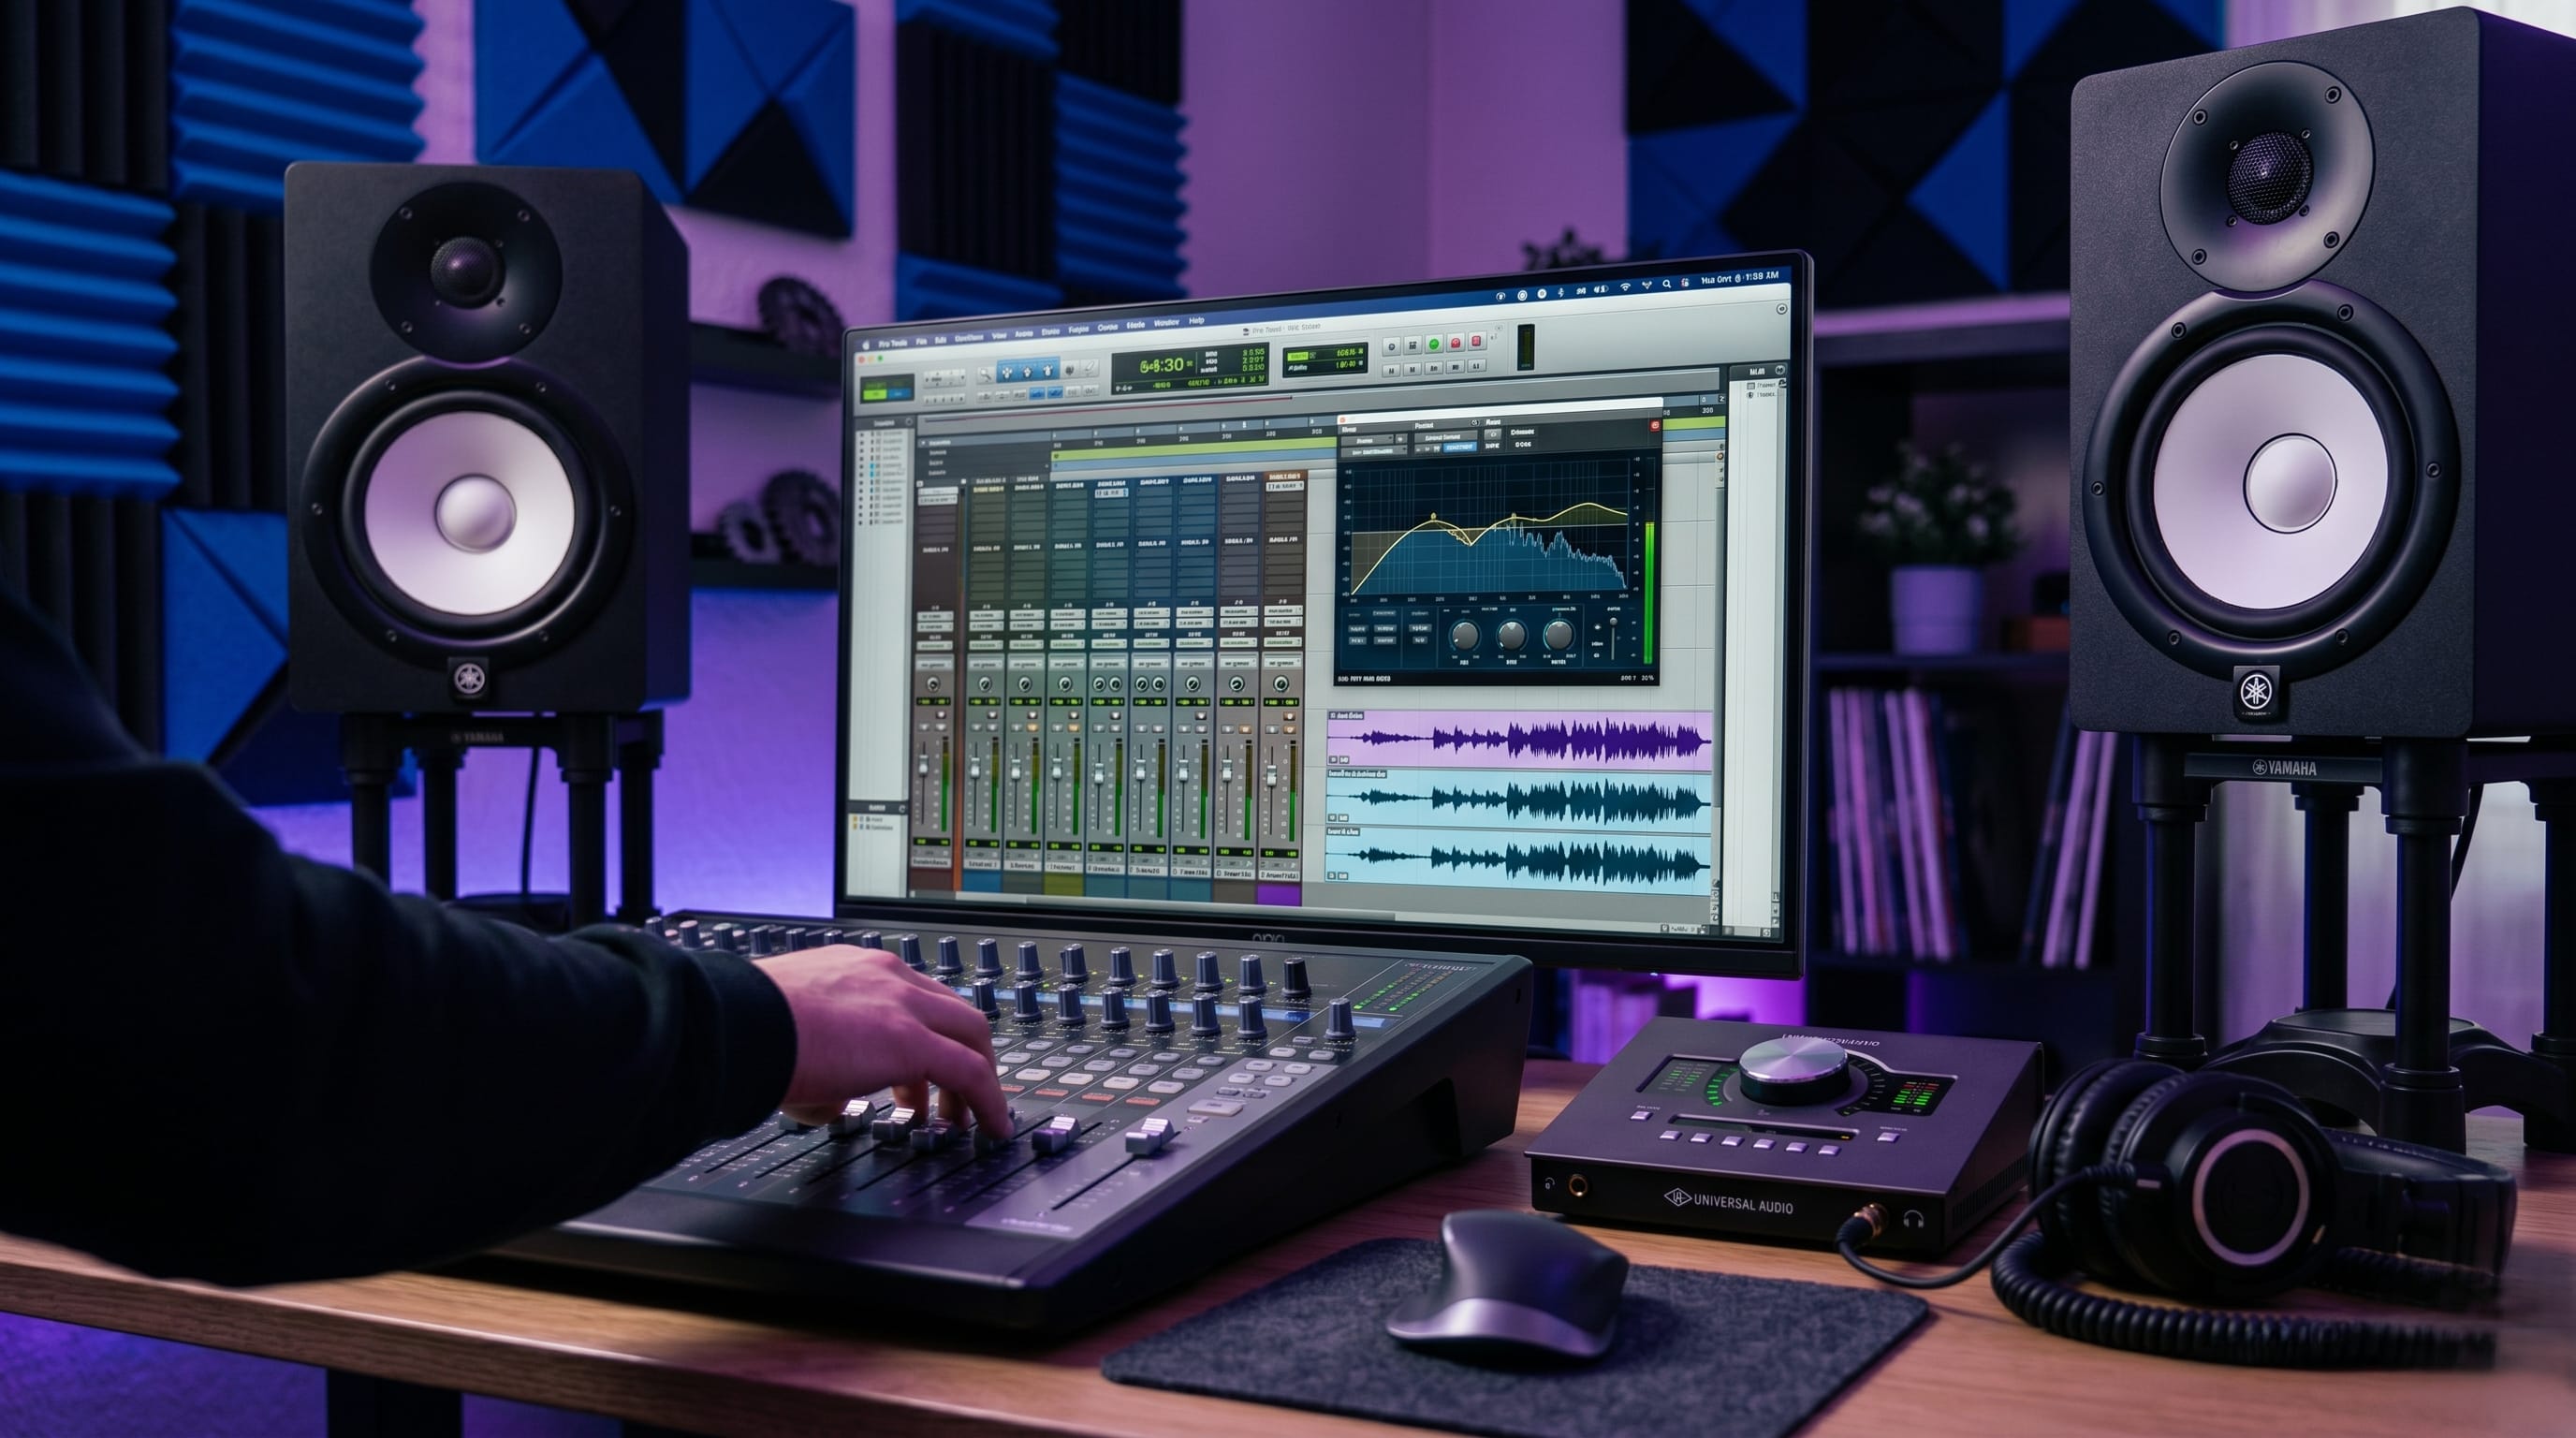
Gain staging matters just as much as microphone choice. Set the level with enough headroom so the take stays strong without clipping. If the level is too low, you may bring up noise later. If it is too hot, you may lose clean peaks and create distortion. A balanced input level is one of the easiest habits to build.
Recording is also about comfort. The performer should be able to focus on expression, not worry about technical issues. Have the session prepared, the headphones working, and the track ready before the talent steps in. That calm environment usually leads to a better performance.
A repeatable setup gives students confidence. Once they know how to position the mic, check the room, and monitor properly, they spend less time fixing problems and more time performing with clarity. Good recording is not just about capturing sound. It is about protecting the moment so the performance feels real when you listen back.
It also helps to build a simple checklist for every session. Confirm the microphone, input gain, cable health, headphone mix, and file naming before recording starts. A tiny bit of preparation saves a lot of time later and keeps the session flowing without interruptions.